当我们设计 MinIO 时,我们希望确保它作为对象存储的使用无处不在。 考虑到这一点,我们确保每个 MinIO 版本都能够在无数 的基础设施 上运行,并通过许多不同的方法进行部署,因此它可以直接应用于每个用例。 当然,MinIO 可以在任何公共云、本地裸机和边缘设备以及任何 Kubernetes 发行版上运行。 最近我们写了一篇关于如何使用Rafay Systems 在各种环境中部署 MinIO 的文章 。
在此势头的基础上,我们为您带来了另一种部署 MinIO 的方法,这次使用的是 ArgoCD。 什么是 ArgoCD ? 简而言之,它是一个 GitOps 持续部署工具,将基础架构的状态存储在 Git 存储库中,并通过跟踪现有部署配置和新部署配置之间的变化来自动部署。 MinIO 的构建是为了无缝地融入任何 CI/CD 环境,而 GitOps 最近在这一学科中崭露头角,因为它为您的工作流程增加了简单性和自动化。 如果你不想使用像 ArgoCD 这样的工具(或者只是不想在棚子里使用另一个新工具),MinIO 有内置的功能,可以让你升级 版本 无需任何特殊工具或流程即可即时将其扩展到数千个节点。 您还可以通过运行您自己定制的 CI/CD GitOps 管道 来部署和管理 MinIO 集群,以此为基础。 由于 MinIO 的灵活性,您可以选择适合您的部署方法,这里没有放之四海而皆准的方法。
MinIO 是一个 Kubernetes 原生的 高性能对象存储,具有与 S3 兼容的 API。 MinIO Operator 支持将 MinIO 租户部署到私有、公共和多云基础设施上。 MinIO Operator 安装自定义资源文档 (CRD) 以支持将 MinIO 租户描述为 Kubernetes 对象,而 MinIO Kubernetes 插件为使用命令在 Kubernetes 集群上部署和管理 MinIO 租户提供了原生支持 kubectl minio。
Kubernetes 集群 在我们开始之前,让我们设置一个 Kubernetes 集群来使用。 您可以在那里使用任何普通的 Kubernetes 部署; 在本教程博文中,我们将使用 Kind 集群。
创建并打开以下文件
~/bash-config/config-files/kind-config.yaml
添加以下内容来定义我们想要的 Kind 集群的配置,以及 ArgoCD、MinIO 和一堆其他组件所需的开放端口。
kind: Cluster apiVersion: kind.x-k8s.io/v1alpha4 networking: apiServerAddress: "127.0.0.1" apiServerPort: 6443 nodes: - role: control-plane extraPortMappings: - containerPort: 30080 hostPort: 30080 listenAddress: "127.0.0.1" protocol: TCP - role: worker extraPortMappings: - containerPort: 30081 hostPort: 30081 listenAddress: "127.0.0.1" protocol: TCP - role: worker extraPortMappings: - containerPort: 30082 hostPort: 30082 listenAddress: "127.0.0.1" protocol: TCP - role: worker extraPortMappings: - containerPort: 30083 hostPort: 30083 listenAddress: "127.0.0.1" protocol: TCP - role: worker extraPortMappings: - containerPort: 30084 hostPort: 30084 listenAddress: "127.0.0.1" protocol: TCP - role: worker extraPortMappings: - containerPort: 30085 hostPort: 30085 listenAddress: "127.0.0.1" protocol: TCP - role: worker extraPortMappings: - containerPort: 30086 hostPort: 30086 listenAddress: "127.0.0.1" protocol: TCP - role: worker extraPortMappings: - containerPort: 30087 hostPort: 30087 listenAddress: "127.0.0.1" protocol: TCP - role: worker extraPortMappings: - containerPort: 30088 hostPort: 30088 listenAddress: "127.0.0.1" protocol: TCP
使用上面的配置创建 Kind 集群。 请务必先删除任何现有集群。
kind delete cluster kind create cluster --config ~/bash-config/config-files/kind-config.yaml
安装 ArgoCD 一旦 Kubernetes 集群启动并运行,让我们安装 ArgoCD。 为 Argo 创建一个命名空间,然后应用来自 ArgoCD GitHub 存储库的 ArgoCD Kubernetes yaml。
kubectl create namespace argocd kubectl apply -n argocd -f https: //raw.githubusercontent.com/argoproj/argo-cd/stable/manifests/install.yaml
在外部公开 ArgoCD argo-server服务,以便您可以使用 Argo 管理应用程序。 我们建议使用 NodePort,因为它比端口转发更可配置且更稳定,但只要它有效,您可以随意使用任何方法。 只需确保您公开的端口与 Kind 集群打开的端口相匹配即可。
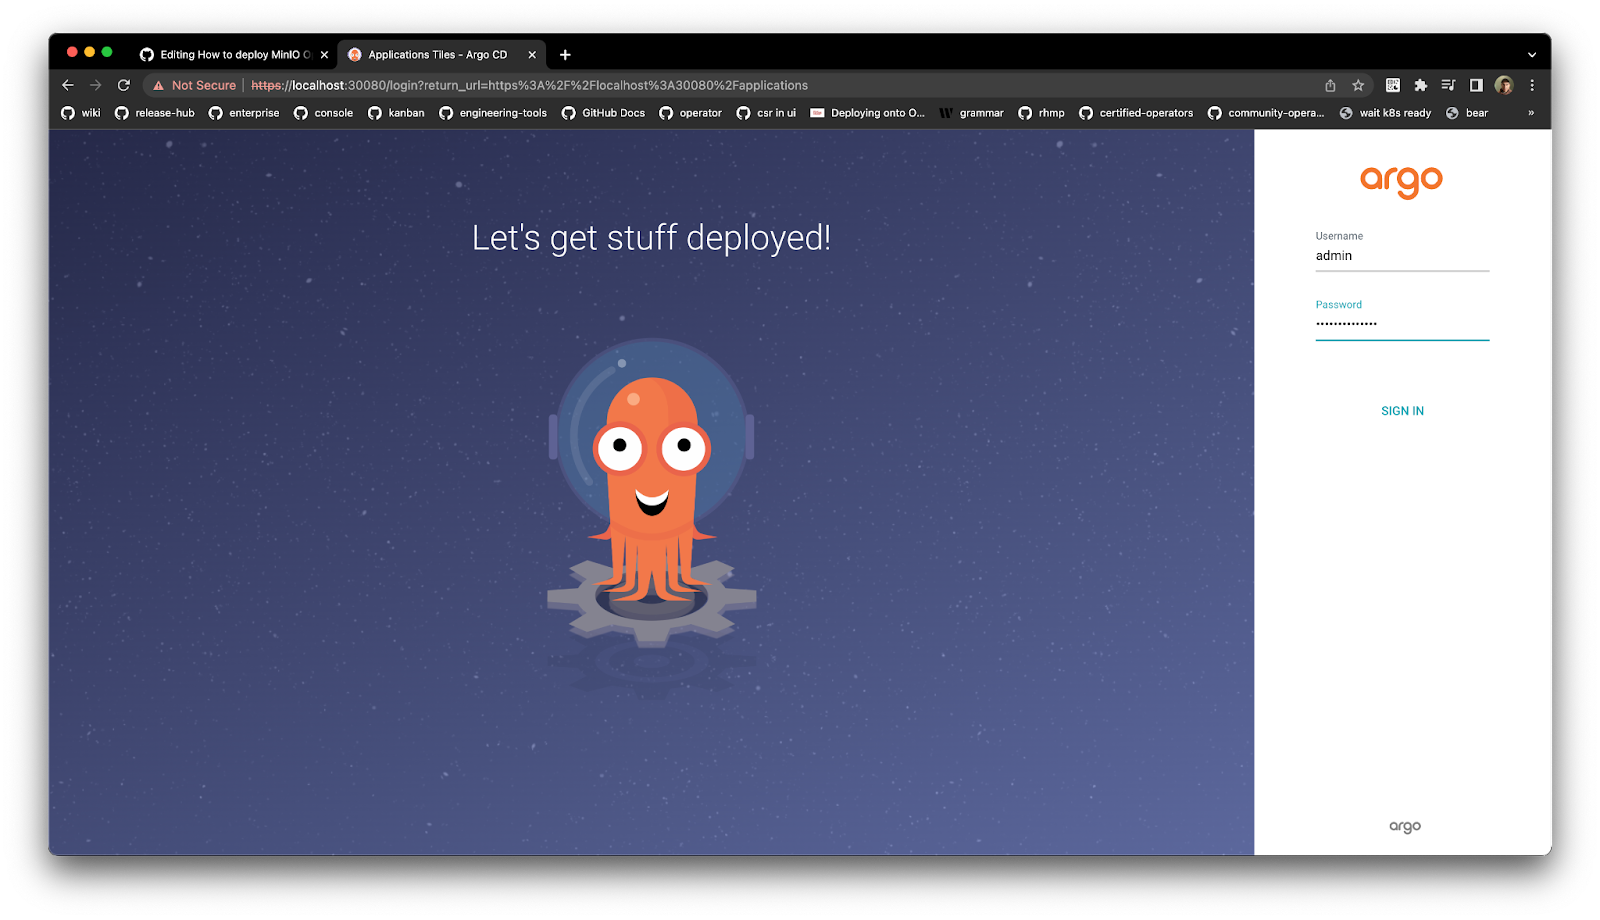
端口公开后,打开浏览器并转到以下 URL http://localhost:30080/
要登录 ArgoCD UI,让我们通过运行以下命令获取初始密码
argocd admin initial-password -n argocd
获得密码后,使用以下命令登录
$ argocd login localhost: 30080 WARNING: server certificate had error: tls: failed to verify certificate: x509: certificate signed by unknown authority. Proceed insecurely (y/n)? y Username: admin Password: 'admin:login' logged in successfully Context 'localhost:30080' updated
为了安全起见,让我们更改此默认密码
$ argocd account update-password *** Enter password of currently logged in user (admin): *** Enter new password for user admin: *** Confirm new password for user admin: Password updated Context 'localhost:30080' updated
最后但同样重要的是,让我们告诉 ArgoCD 使用我们之前设置的 Kind 集群
$ argocd cluster add kind-kind --in-cluster WARNING: This will create a service account `argocd-manager` on the cluster referenced by context `kind-kind` with full cluster level privileges. Do you want to continue [y/N]? y INFO[ 0002 ] ServiceAccount "argocd-manager" created in namespace "kube-system" INFO[ 0002 ] ClusterRole "argocd-manager-role" created INFO[ 0002 ] ClusterRoleBinding "argocd-manager-role-binding" created INFO[ 0007 ] Created bearer token secret for ServiceAccount "argocd-manager" Cluster 'https://kubernetes.default.svc' added
部署 MinIO 操作员 在这一点上,我们应该拥有使用 ArgoCD 部署 The MinIO Operator 所需的所有基础。 让我们创建一个命名空间 minio并在 ArgoCD 中创建一个名为 MinIO 的应用程序
$ kubectl create namespace minio-operator namespace/minio-operator created $ argocd app create minio-operator --repo https: //github.com/cniackz/minio-argocd.git --path minio-operator --dest-namespace minio-operator --dest-server https://kubernetes.default.svc --insecure --upsert application 'minio-operator' created
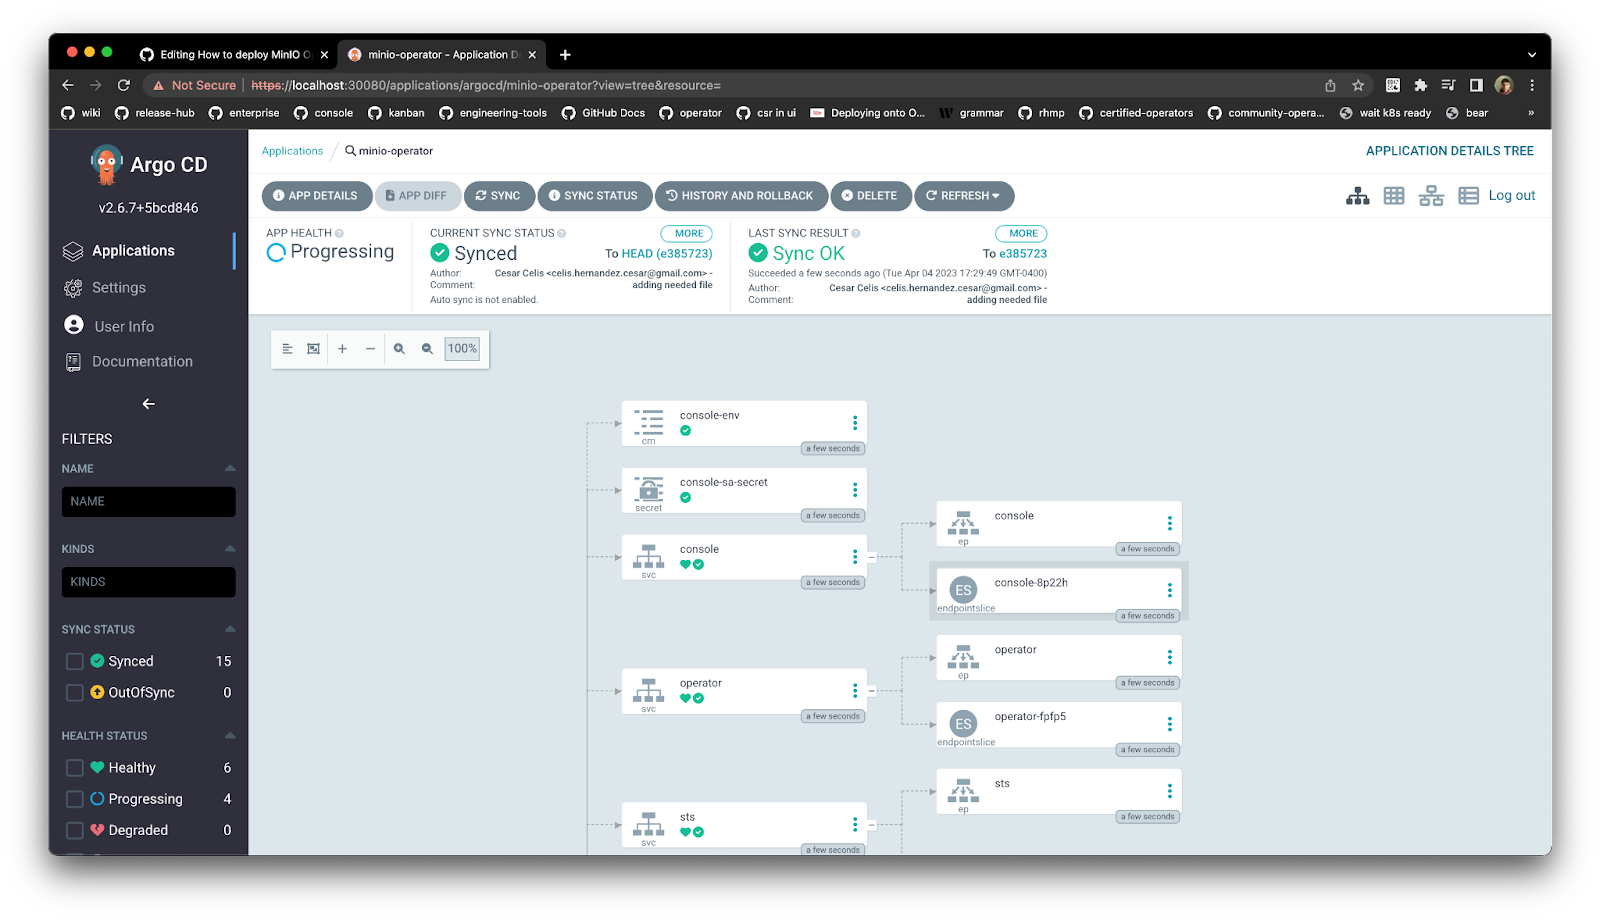
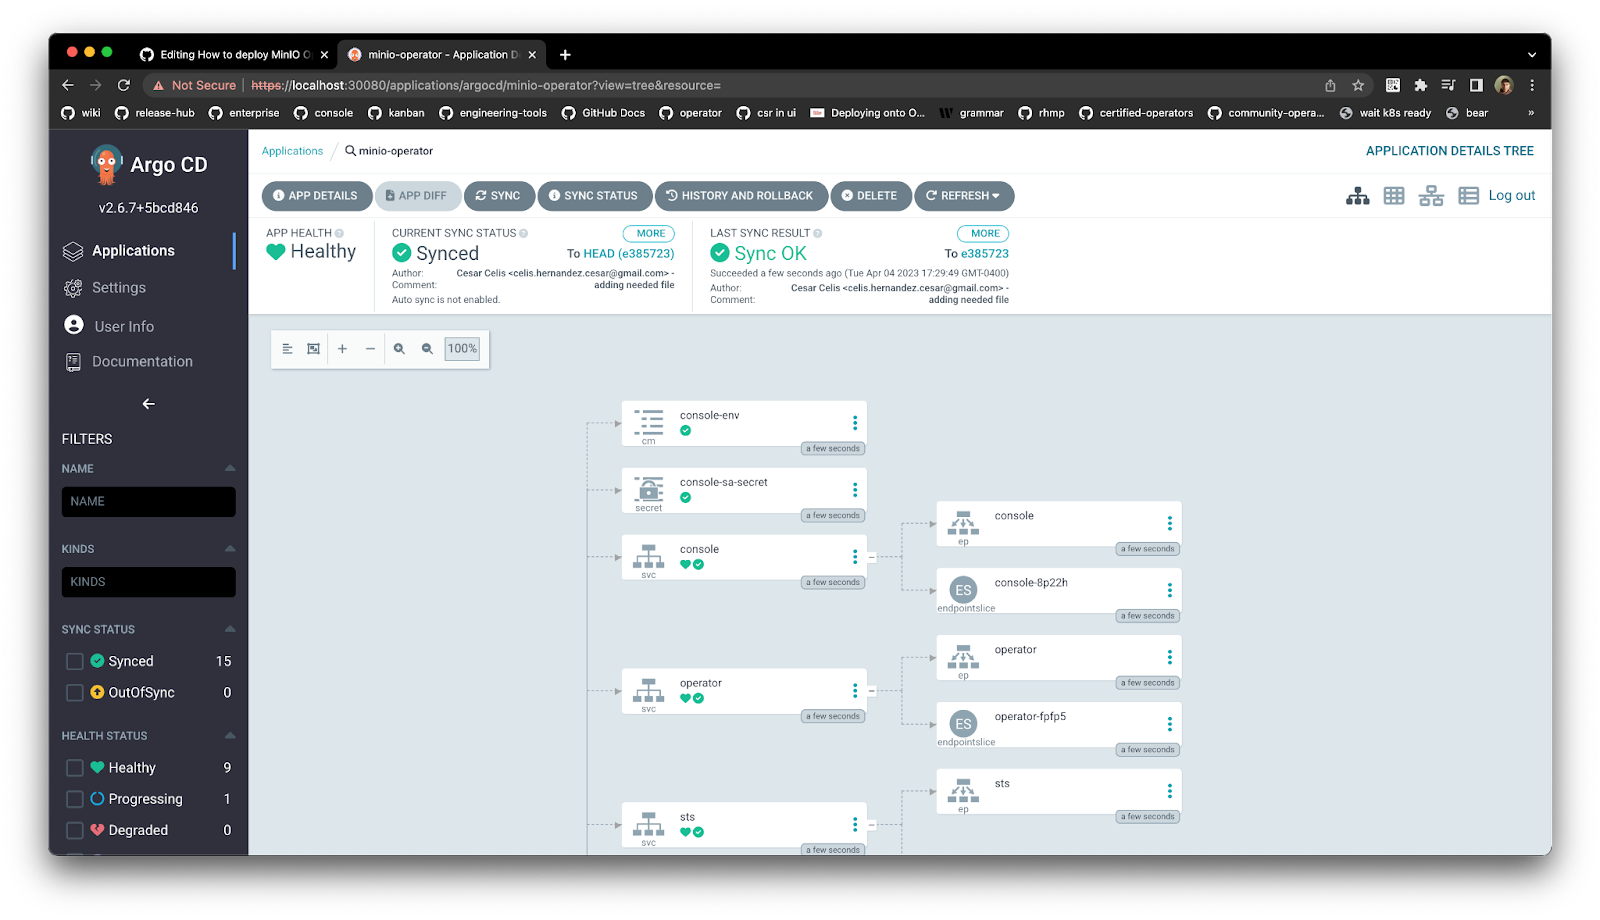
使用新设置的 ArgoCD 密码,登录到 UI
确保 ArgoCD MinIO 应用程序已同步,以便可以部署
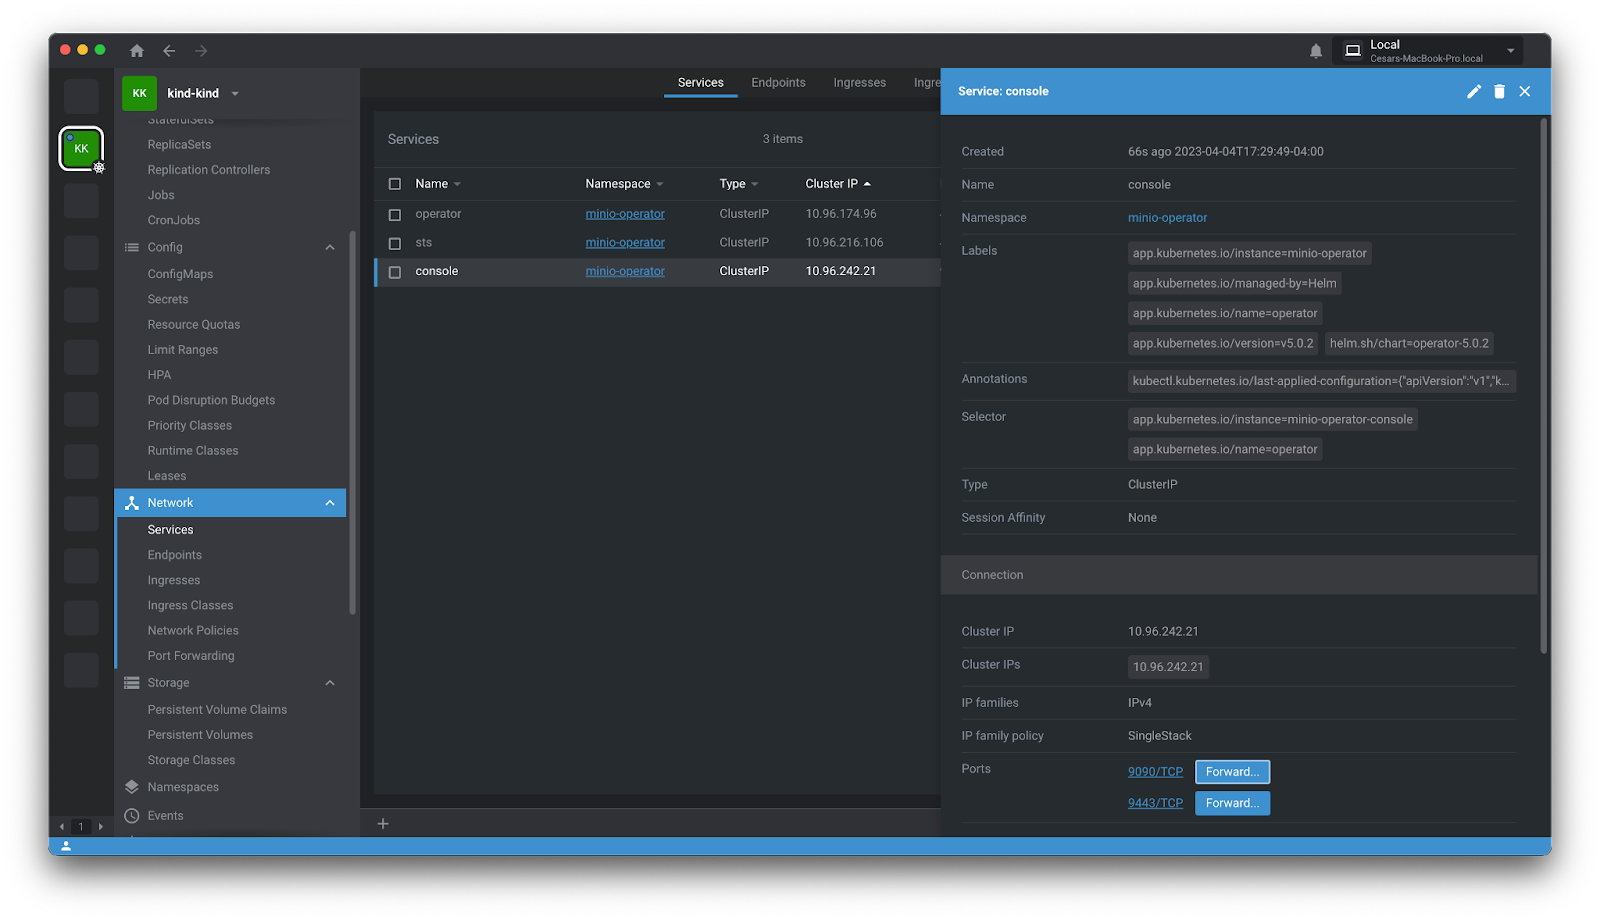
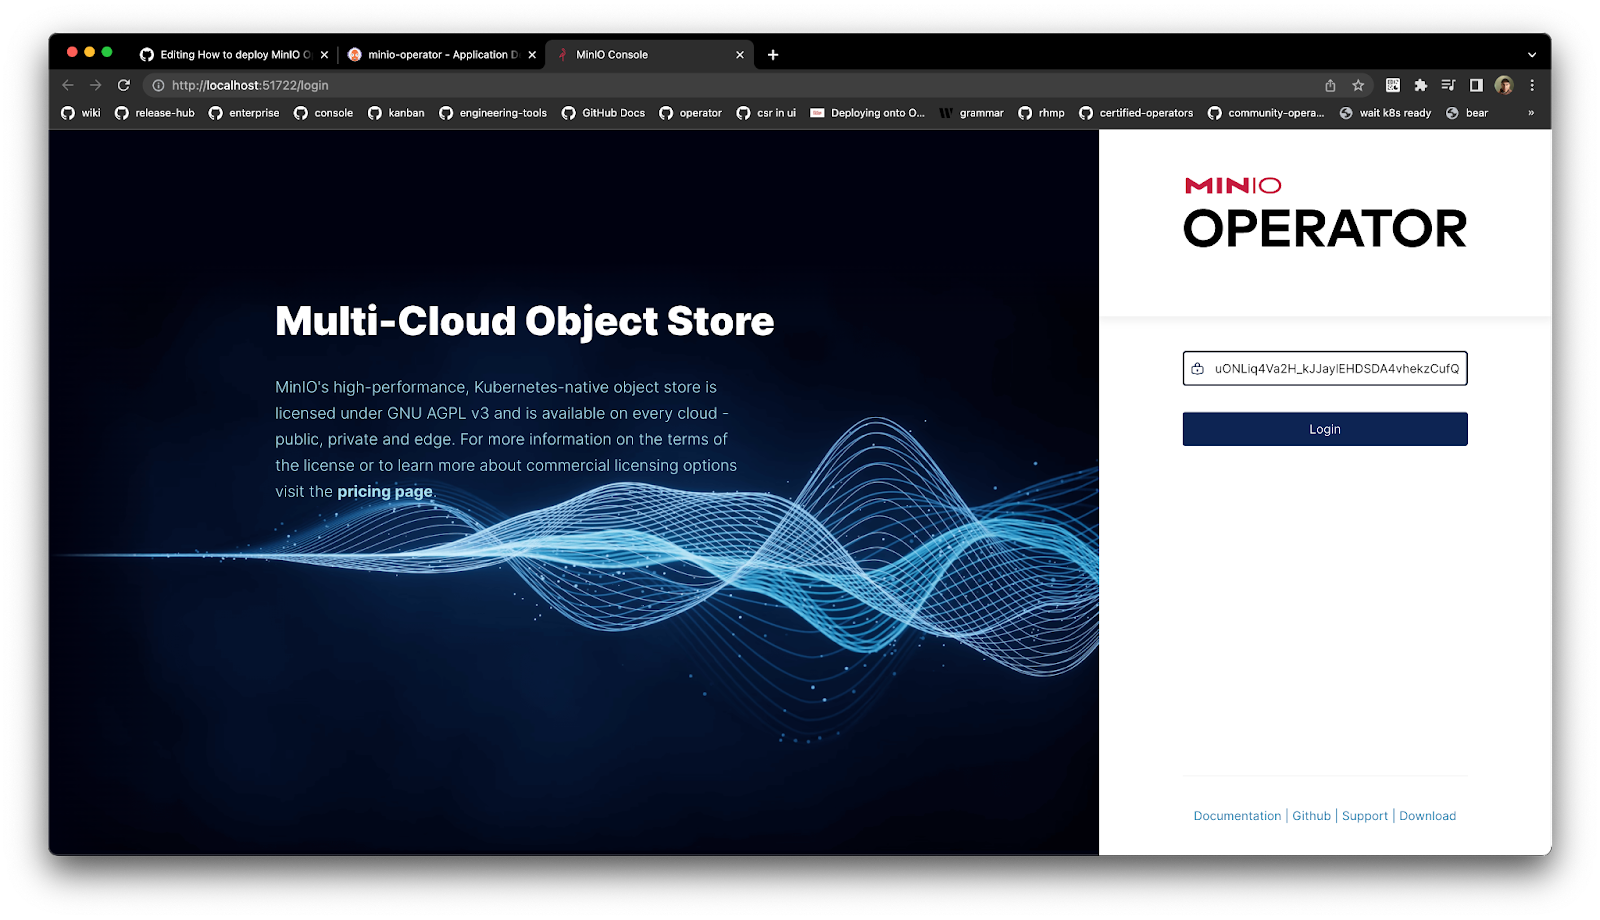
将 MinIO Operator 控制台公开为 NodePort,以便可以访问它,确保在我们之前使用的 Kind 集群配置中打开此端口。 要登录到 MinIO 操作员控制台,请使用 URL http://localhost:/login
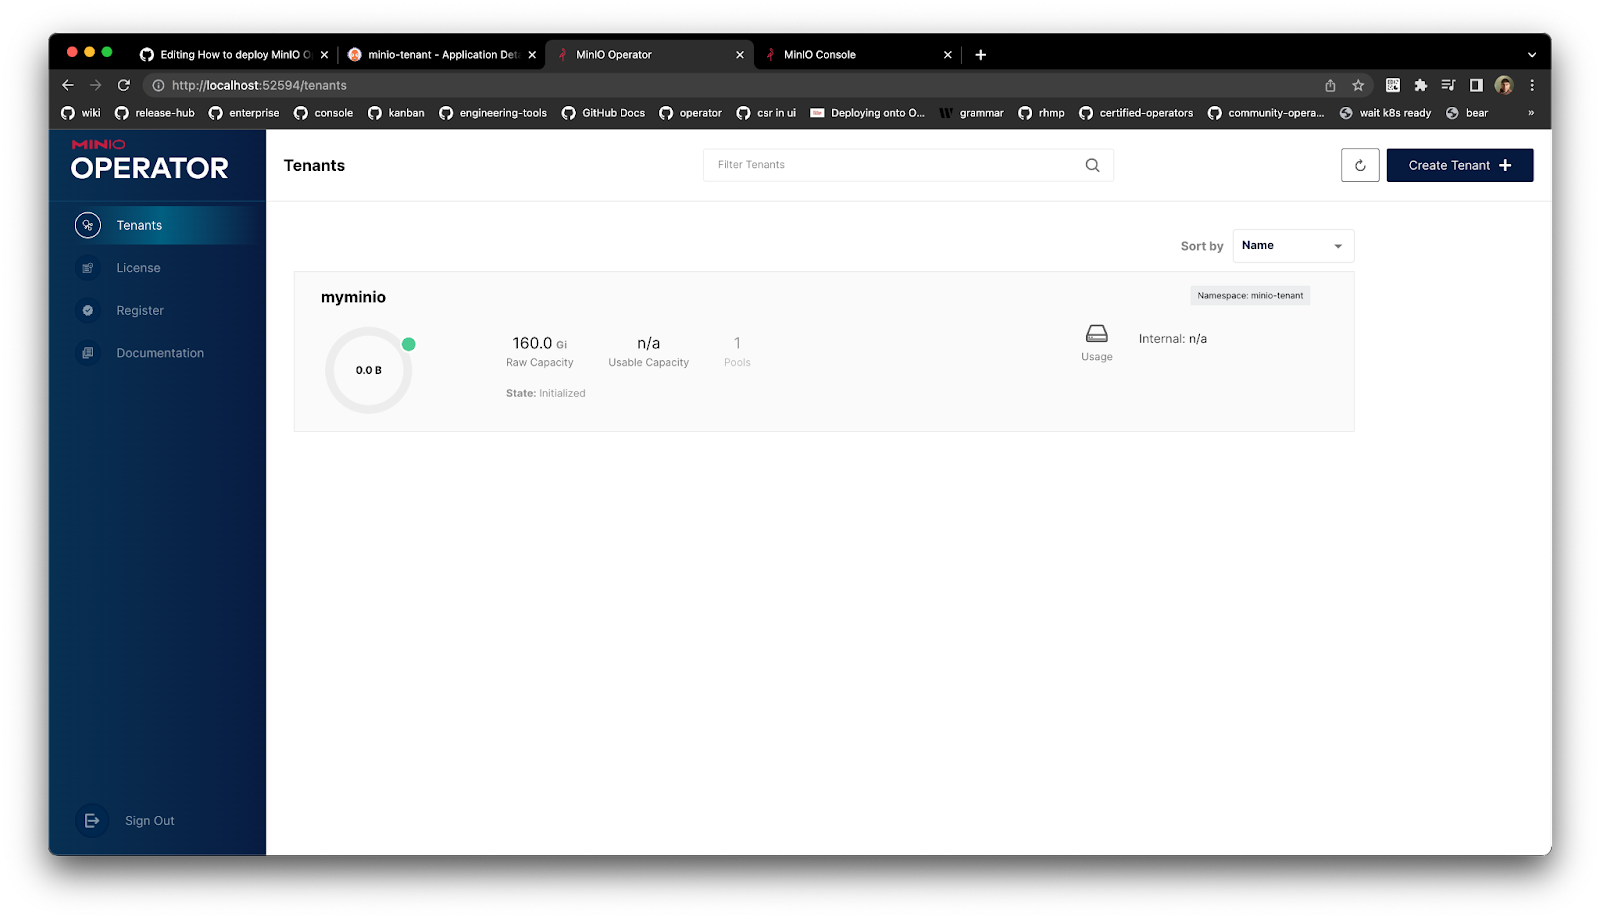
部署 MinIO 租户 您不仅可以部署 MinIO Operator,还可以通过 ArgoCD 部署 MinIO 租户。 让我们创建一个命名空间并部署 ArgoCD MinIO 租户应用程序
$ kubectl create namespace minio-tenant namespace/minio-tenant created Cesars-MacBook-Pro:minio-argocd cniackz$ argocd app create minio-tenant \ > --repo https: //github.com/cniackz/minio-argocd.git \ > --path minio-tenant \ > --dest-namespace minio-tenant \ > --dest-server https: //kubernetes.default.svc \ > --insecure \ > --upsert application 'minio-tenant' created
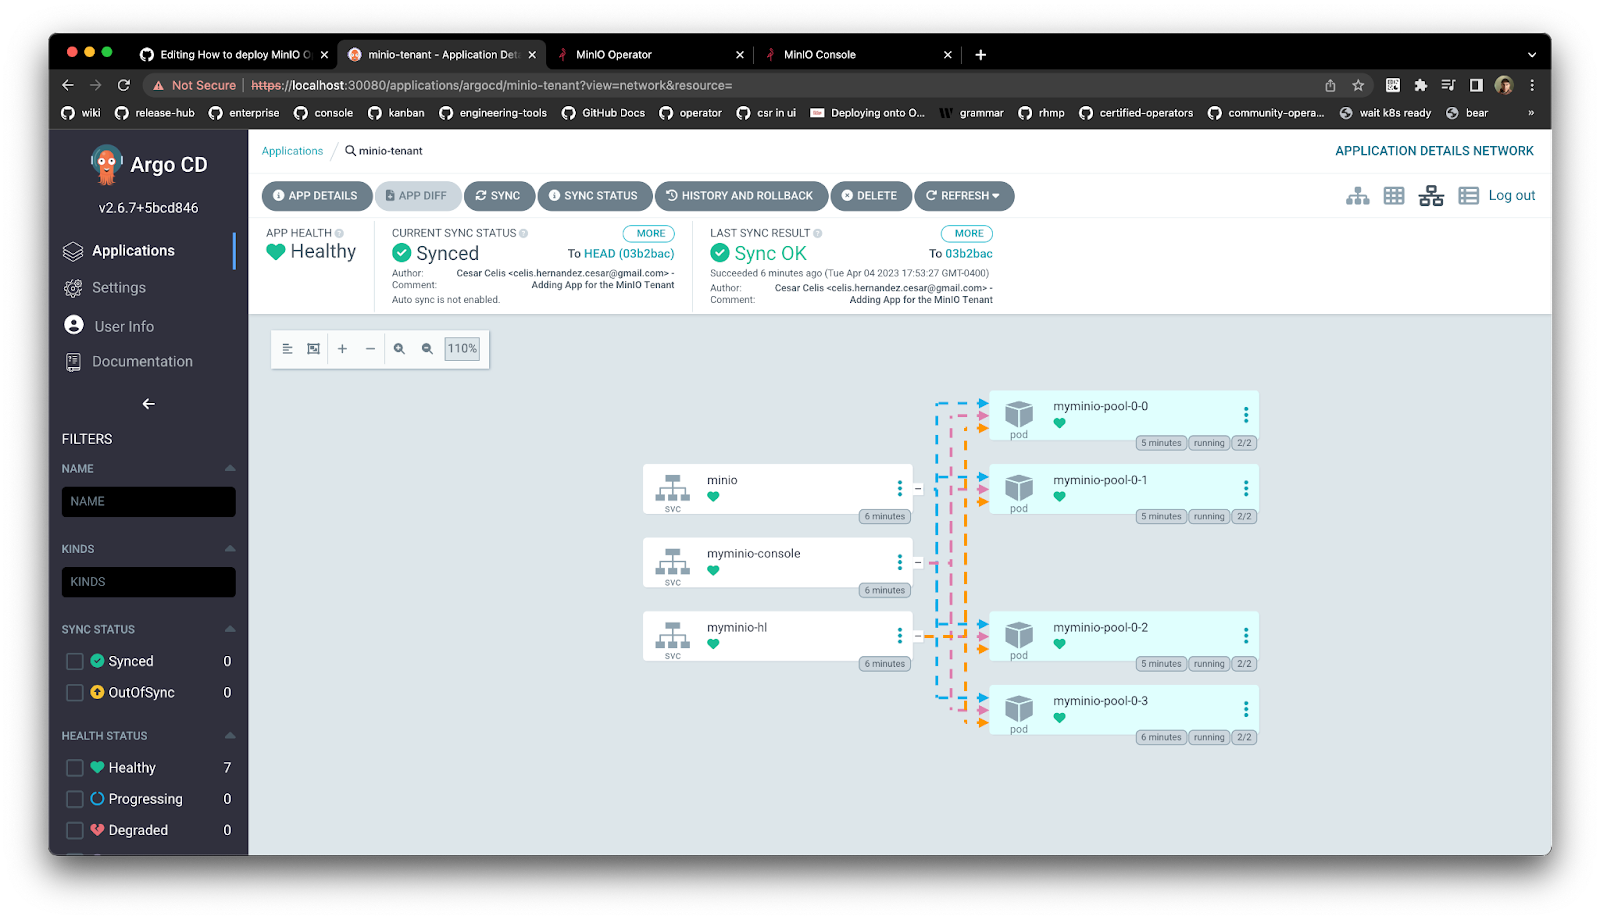
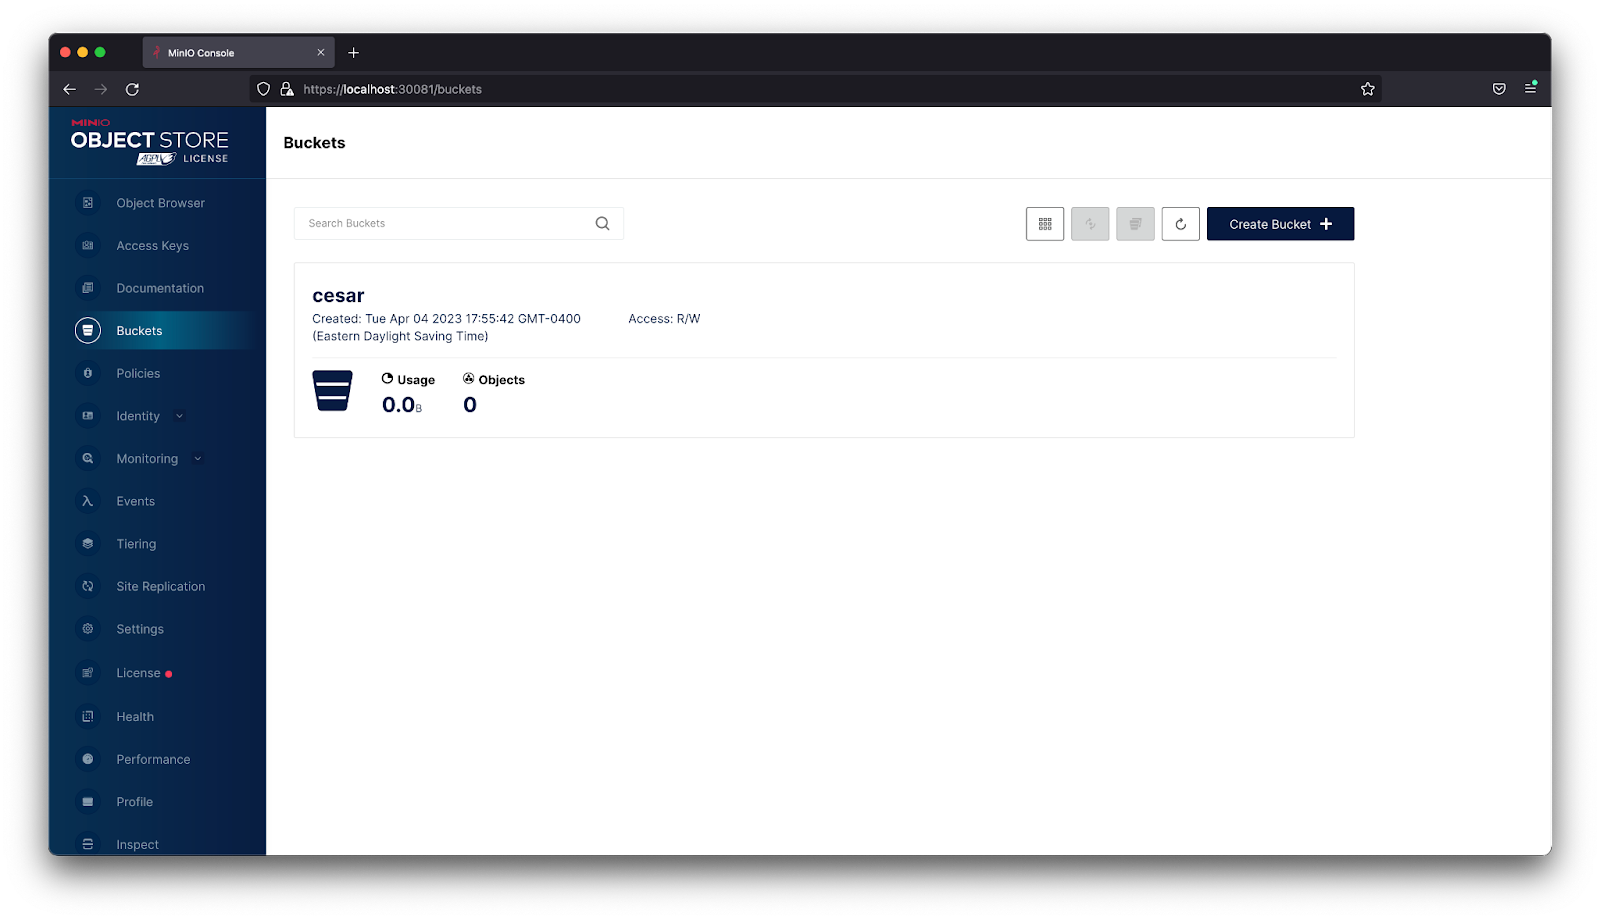
让我们同步 minio-tenant app并等待它部署,然后公开控制台服务并使用 UI 访问它
单一的玻璃视图面板 与我们简单的精神保持一致,我们喜欢 ArgoCD,因为它允许您在 Kubernetes 环境中进行版本控制和自动化您的 MinIO 服务器升级和部署。 ArgoCD 的简单界面只需要几个步骤即可创建生产级 MinIO 部署。
本教程为您提供了创建单个集群 MinIO 部署的构建块。 接下来,您可以采用此设置并将其扩展到跨不同物理位置的多个 Kubernetes 集群,并使用站点到站点复制在它们之间共享数据 。 最终,这为您提供了一个跨所有 MinIO Kubernetes 部署的单一窗格视图,并使基础架构的整体结构可视化变得容易。 这在入职新工程师时特别有用,这样他们就可以阅读配置以找出整体架构。 一旦他们掌握了速度,他们就可以使用它来修改和应用配置,并确信他们可以在必要时恢复更改。
一如既往,我们随时为您提供帮助! 因此,请通过 、 Slack 或发送电子邮件至 sales@minio.org.cn 联系我们。